In this article:
Arrival in Thailand is easier to organize if you know the sequence of steps in advance. For a regular international arrival at Suvarnabhumi Airport, the route is: passport control → baggage claim → customs → connectivity and money → transport to accommodation
This guide is for independent travelers going through the route for the first time, from leaving the plane to meeting a driver or boarding public transport. For a connection and special checks, the procedure may differ: check your route with the carrier and airport staff. Connectivity and money can be prepared in whatever order suits you, especially if the internet already works or a car has been booked in advance.
Current as of publication. Entry requirements depend on citizenship and the purpose of travel; requirements may change. Before traveling, check the current rules against official sources.
Before Landing: documents and the Digital Arrival Card (TDAC)
While you still have internet, save your travel documents so you can open them without a connection. Check file access in advance: a link to a document and a downloaded document are not the same thing.
Prepare a convenient folder on your phone:
- documents related to the basis for your entry;
- confirmation of the Digital Arrival Card (TDAC);
- booking and accommodation address;
- contact of the person meeting you and agreement on the meeting point.
The Digital Arrival Card (TDAC) is not a visa, as the official instructions from the Immigration Bureau explain. It does not replace checking the basis on which you are entering the country. Do not confuse it with a visa on arrival or a customs declaration.
Submission is allowed within 3 days before arrival, including the day of arrival — that is exactly the calendar window stated in the official FAQ of the Immigration Bureau. You do not need to submit the card exactly three days in advance, and you do not need to convert this window into hours.
The same page offers downloading a document with a QR code. Save it for access without internet, and check the filling order in the instructions for filling out the Digital Arrival Card. The result of preparation: the files you need open, and your accommodation address and the meeting contact are available.
Step one: find passport control and check the entry stamp
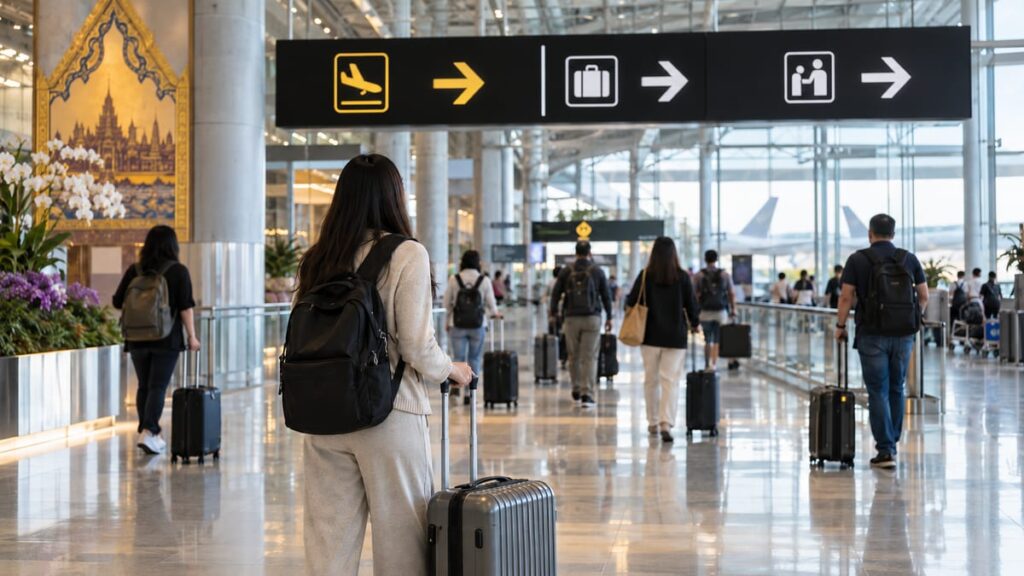
After exiting the plane, follow the signs to Passport Control. The official instructions for the main terminal of Suvarnabhumi designate this stage for international passengers. If you are not sure where to go, show your boarding pass to a staff member and ask for directions.
Have your passport and saved travel documents ready before you reach the counter. Answer the officer’s questions directly: about the purpose of your trip, your accommodation, and other circumstances they ask about. Waiting times and the check procedure may depend on the situation.
After arriving in Thailand, do not rush to put away your passport if an entry stamp was placed during the check. Check the details and dates in it, and if an entry is unclear or appears to be wrong, contact an immigration officer. You may not correct the marks yourself.
This stage ends when the check is complete and you can follow the signs onward. Verify counter numbers and service locations on site: the layout of one airport does not show where control is located at another.
Step two: collect your baggage from your flight
The next landmark is the baggage claim area. According to the official instructions for Suvarnabhumi, baggage delivery is a separate stage after passport control. Find your flight number and its assigned belt on the arrivals board, then follow local signs.
Keep your baggage tag handy at the belt. When you collect your suitcase, check not only its color and shape but also the tag, since similar bags are easy to mix up. Inspect the handles, wheels, and shell before heading to customs.
If your suitcase has not appeared or is damaged:
- ask staff whether baggage delivery for your flight has been completed;
- contact the carrier’s representative or the handling company;
- show your baggage tag and flight documents;
- ask for confirmation of your inquiry and clarify how to follow up
Do not leave with an unresolved issue without clarifying the next steps. Check claim deadlines and compensation terms with your carrier. Keep your baggage tag at least until you finish your trip from the airport. This step is complete when your baggage is received or your report of the problem is confirmed.
Step three: choose a customs channel
Passport control checks the right of entry, and customs checks the goods being brought in. In the Suvarnabhumi instructions, the red channel is intended for passengers carrying goods to declare, and the green channel is for passengers without such goods. Your choice depends on what is in your baggage.
According to the official website of the Customs Department of Thailand, duty-free allowances include:
- no more than 200 cigarettes or 250 g of tobacco;
- for a combination of tobacco products, no more than 250 g in total;
- alcoholic beverages, no more than 1 liter.
These are alternative limits for tobacco: they cannot be added together as separate permitted amounts. Quantity limits also do not permit importing prohibited goods and do not cancel restrictions on certain items.
If you are unsure whether you need to declare the contents of your suitcase, contact a customs officer before choosing a channel. Explain what you are carrying and clarify the procedure. After completing the customs stage, you can move on to arranging your trip to your accommodation.
Step four: get connected
First check whether your prepared internet already works. If an eSIM is installed in advance, try opening the app you need or contacting the person meeting you. If you have a connection, you may not need to buy a separate data package at the airport.
If there is no internet, choose a suitable option:
- ask the information desk about available Wi-Fi;
- contact a mobile operator’s service point;
- check the connection terms for an eSIM you have already bought.
Before paying check that your device is compatible, the plan terms, and that the internet works. Ask whether the offer suits your trip and how to get help if the connection does not work. Do not confirm the purchase while the terms are unclear.
For choosing an option, see the guide to SIM cards and internet for your trip. This step is complete when you can contact your driver or accommodation. If you could not connect, prepare a backup way to meet: a saved address, a contact, and an agreed landmark.
Step five: prepare baht for initial expenses
Prepare money for the transport option you have chosen and for your immediate purchases. There is no universal amount: first clarify how transport is paid for, then decide whether you need baht in cash. If a car is booked in advance, check the payment agreement.
When exchanging currency, compare the final amount you will receive. Ask how many baht you will get for your amount after the transaction terms are applied, and recount the money at the counter. More details are in the guide on how to compare currency exchange terms.
If you use an ATM, read the displayed terms and fees before confirming the withdrawal. When the debit amount or the terms are unclear, it is better to cancel the transaction and clarify them. Whether a specific card works depends on its terms and the available service options.
Without a working bank card, rely on cash you prepared in advance, and check whether you can exchange the currency you have. Do not assume that a card issued in Russia will work without checking first. Money received after customs is intended for expenses after exiting, and any financial requirements that apply to entry should be checked in advance.
Step six: choose transport to your accommodation
Now compare the transport options available at your airport. Assess not only the cost but also your baggage, destination address, payment, and whether you need transfers. With suitcases, it is especially useful to understand in advance where the trip will end.
Options to check:
- Official taxi rank: check its location with staff and the payment terms.
- Booking via an app: check that the service is available and the designated pickup point.
- Pre-arranged transfer: confirm the driver’s contact, the meeting point, and the payment.
- Public transport: check the route, availability at your arrival time, and the way from the stop to your accommodation.
For Suvarnabhumi, the Grab ride-booking service marks its pickup point at Exit 4 (Grab Pickup Point A) on the first floor, at Exit 4. Check it against your current booking and the app instructions. This landmark applies to a specific service at a specific airport.
Before getting in, check the vehicle, the driver, the destination address, the payment method, and any included surcharges. It is better to sort this out before the trip. See the guide on how to compare taxi apps and fees.
This stage is complete when transport is found, the destination address is clear to the driver, and payment terms are agreed.
Suvarnabhumi, Don Mueang, and Phuket: consider your airport
Suvarnabhumi and Don Mueang are different airports. Check the name and code on your ticket, especially when you send details to the person meeting you or arrange a connection. Clarify the airport before agreeing on the exit and meeting place.
| Airport | What to check after landing | How to confirm the meeting point |
|---|---|---|
| Suvarnabhumi (BKK) | International arrival route, control and baggage claim signs | Check the booking instructions; for the Grab ride-booking service, use the landmark from the previous section |
| Don Mueang International Airport, DMK | Local terminal map and exit direction | Clarify with the driver and airport staff |
| Phuket International Airport, HKT | Local signs and the location of the needed service | Confirm the landmark using the local map |
The official Suvarnabhumi map separates passport control, baggage claim, and customs. This distinction is useful: completing document checks does not mean that all airport steps are finished.
For the rest of your route in the capital, see transport in Bangkok. Check floors and exits against your own airport.
Night arrival, travel with children, and connections
Prepare for a night arrival in advance: check the availability of transport, currency exchange, and connectivity for your arrival time. Agree on the meeting, payment method, driver contact, and a backup plan for your trip. Clarify how to report a delay if the internet does not work after landing.
When traveling with children, ask the airline about help with baggage and how to get a stroller. Check the child carriage terms with your chosen transport service. Do not count on a separate queue or extra help without confirmation.
For a connection, find out:
- where your baggage is checked through to;
- whether you need to change airports;
- whether you need to exit the transit area;
- where control is located on your route.
Do not follow the standard arrival route automatically, if another flight follows. Show the staff member your next flight documents and confirm the direction before leaving the transit area. The result of preparation is a clear route for your specific connection, not a general procedure for all passengers.
If a problem arises: documents, baggage, or meeting the driver
If the Digital Arrival Card (TDAC) confirmation does not open, check the downloaded files and your email. If you have no access, ask a staff member where to go with your question.
If your baggage is missing, return to checking your flight and contact the carrier’s representative or the handling company. Show the tag, ask for confirmation of your report, and clarify the next point of contact. Do not leave relying only on a verbal promise.
If there is no internet, ask the information desk about available networks or contact your mobile operator. Show the saved accommodation address if you need help with transport. This is where preparation without internet will help.
If you cannot find your driver, check the airport, exit, and meeting landmark. Contact them by an available method and agree on the next step: stay where you are, go to another landmark, or choose a backup transport.
Before leaving, check:
- that you have your documents;
- that your baggage is with you and the issue with it is resolved;
- that your accommodation address is available;
- that transport and the pickup point are agreed;
- that you have a connection or a backup contact;
- that the payment method suits your trip.
Frequently Asked Questions ❓
What should I prepare so that the Digital Arrival Card (TDAC) confirmation is available without internet?
Download the document with a QR code; the official FAQ offers this option. Check that the file opens without a network connection.
Do I need to submit the Digital Arrival Card (TDAC) exactly three days before arrival?
No: the official FAQ describes a window of up to 3 days before arrival, including the day of arrival. This wording contains no requirement to submit the card exactly three days in advance.
Does the Digital Arrival Card (TDAC) replace a visa?
No, according to the official instructions, it is not a visa. Check your basis for entry and the conditions that apply to you separately.
When should I collect baggage on a regular international arrival at Suvarnabhumi?
On a regular international arrival route, after passport control and before customs. For a connection, check the procedure with your carrier.
What should I do if I am not sure which customs channel to choose?
Before choosing a channel, contact a customs officer and explain what goods you are carrying. Do not choose a route just because other passengers are going that way.
What should I do if my baggage does not appear on the belt?
Check your flight and clarify whether baggage delivery has finished. Then contact the carrier’s representative with your baggage tag and get confirmation of your report.
What should I clarify in advance for a night arrival or a connection?
For a night arrival: the meeting, payment, connectivity, and backup transport. For a connection: baggage check-in, airport change, exit from the transit area, and the location of control.
Conclusion
Arriving in Thailand is easier when you follow a clear route: document check, baggage claim, customs, preparing connectivity and money, then transport. Before leaving, make sure you have your passport and your suitcase, that your accommodation address is available, and that the meeting place and payment method are agreed. For a connection, follow the route confirmed by your carrier.
Save these instructions and documents for offline access. To prepare before departure, use the checklist for your first trip to Thailand.
Entry rules, customs requirements, and the availability of airport services may change. Before traveling, check the applicable requirements against official sources, and confirm the location of services and the pickup point at your airport.
Prepared by MyThai.online editorial team.